Converting 2D Video to 3D with Neural Networks and Parallax (Script)
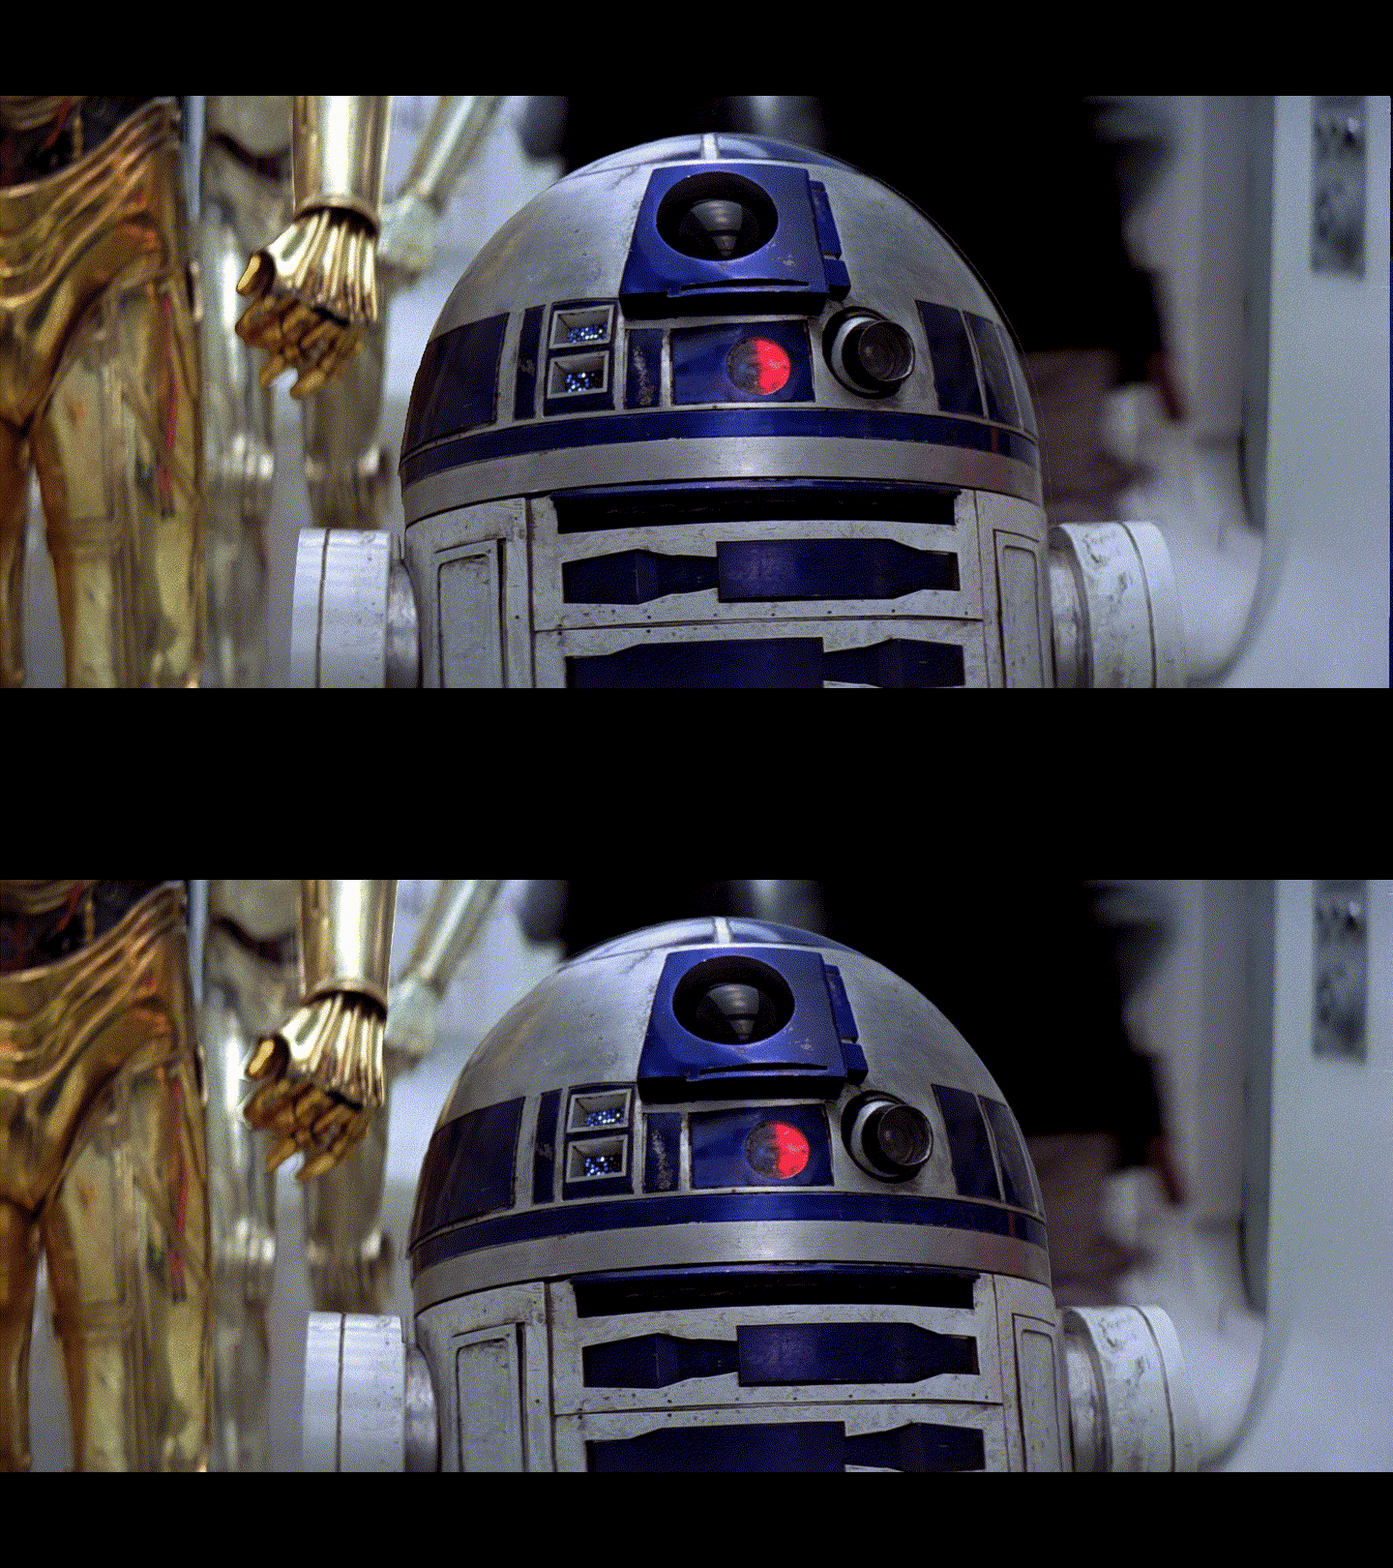 This is the result of the 2D to 3D conversion we will obtain
This article is a continuation of the main article:
How to Make 3D Version of Any Movie Using DepthAnythingV2 and Parallax (StarWars4 as Example)
I recommend reading the initial article first, as it contains all the key details: the core idea of the algorithm, required libraries, the initial scripts, and a description of their parameters. It also includes examples of processed images and links to finished 3D videos (a StarWars4 clip), including versions for VR. This article is a continuation; it presents an improved script and commentary on it. Below, other solutions that can be used for converting video from 2D to 3D are also discussed.
New script:
import os
import subprocess
from concurrent.futures import ThreadPoolExecutor, wait, FIRST_COMPLETED
from multiprocessing import Value
import cv2
import torch
import numpy as np

from depth_anything_v2.dpt import DepthAnythingV2


# GENERAL OPTIONS
# Path to the folder with depth generation models
depth_models_path = "/home/user/DepthAnythingV2/models"

# Folder with source frames
video_file_path = "/home/user/video.mkv"
video_file_name = os.path.splitext(os.path.basename(video_file_path))[0]

# Folder for exporting frames and folder for final 3D frames
frames_path = os.path.join(os.path.dirname(video_file_path), f"{video_file_name}_frames")
images3d_path = os.path.join(os.path.dirname(video_file_path), f"{video_file_name}_3d")
os.makedirs(frames_path, exist_ok=True)
os.makedirs(images3d_path, exist_ok=True)

frame_counter = Value('i', 0) # Counter for naming frames

chunk_size = 5000  # Number of files per thread
max_threads = 3 # Maximum streams

# Computing device
device = torch.device('cuda')

# 3D OPTIONS
PARALLAX_SCALE = 15  # Recommended 10 to 20
PARALLAX_METHOD = 1  # 1 or 2
INPAINT_RADIUS  = 2  # For PARALLAX_METHOD = 2 only, recommended 2 to 5, optimum value 2-3
INTERPOLATION_TYPE = cv2.INTER_LINEAR  # INTER_NEAREST, INTER_AREA, INTER_LINEAR, INTER_CUBIC, INTER_LANCZOS4
TYPE3D = "FOU"  # HSBS, FSBS, HOU, FOU
LEFT_RIGHT = "LEFT"  # LEFT or RIGHT

# 0 - if there's no need to change frame size
new_width  = 1920
new_height = 1080

depth_models_config = {
        'vits': {'encoder': 'vits', 'features': 64, 'out_channels': [48, 96, 192, 384]},
        'vitb': {'encoder': 'vitb', 'features': 128, 'out_channels': [96, 192, 384, 768]},
        'vitl': {'encoder': 'vitl', 'features': 256, 'out_channels': [256, 512, 1024, 1024]}
}

# Selecting the DepthAnythingV2 model: vits - Small, vitb - Base, vitl - Large
encoder = "vitl" # vits, vitb, vitl

model_depth_current = os.path.join(depth_models_path, f'depth_anything_v2_{encoder}.pth')
model_depth = DepthAnythingV2(**depth_models_config[encoder])
model_depth.load_state_dict(torch.load(model_depth_current, weights_only=True, map_location=device))
model_depth = model_depth.to(device).eval()


def image_size_correction(current_height, current_width, left_image, right_image):
    ''' Image size correction if new_width and new_height are set '''

    # Calculate offsets for centering
    top = (new_height - current_height) // 2
    left = (new_width - current_width) // 2

    # Create a black canvas of the desired size
    new_left_image  = np.zeros((new_height, new_width, 3), dtype=np.uint8)
    new_right_image = np.zeros((new_height, new_width, 3), dtype=np.uint8)

    # Placing the image on a black background
    new_left_image[top:top + current_height, left:left + current_width] = left_image
    new_right_image[top:top + current_height, left:left + current_width] = right_image

    return new_left_image, new_right_image

def depth_processing(image):
    ''' Creating a depth map for an image '''

    # Depth calculation
    with torch.no_grad():
        depth = model_depth.infer_image(image)

    # Normalization
    depth_normalized = depth / depth.max()

    return depth_normalized

def image3d_processing_method1(image, depth, height, width):
    ''' The function of creating a stereo pair based on the source image and depth map.
        Method1: faster, contours smoother, but may be less accurate
    '''

    # Creating parallax
    parallax = depth * PARALLAX_SCALE

    # Pixel coordinates
    x, y = np.meshgrid(np.arange(width, dtype=np.float32), np.arange(height, dtype=np.float32))

    # Calculation of offsets
    shift_left  = np.clip(x - parallax, 0, width - 1)
    shift_right = np.clip(x + parallax, 0, width - 1)

    # Applying offsets with cv2.remap
    left_image  = cv2.remap(image, shift_left,  y, interpolation=INTERPOLATION_TYPE)
    right_image = cv2.remap(image, shift_right, y, interpolation=INTERPOLATION_TYPE)

    return left_image, right_image

def image3d_processing_method2(image, depth, height, width):
    ''' The function of creating a stereo pair based on the source image and depth map.
        Method2: slightly slower than the first method, but can be more accurate
    '''

    # Calculating the value for parallax
    parallax = depth * PARALLAX_SCALE

    # Parallax rounding and conversion to int32
    shift = np.round(parallax).astype(np.int32)

    # Grid coordinates
    y, x = np.indices((height, width), dtype=np.int32)

    # Image preparation
    left_image  = np.zeros_like(image)
    right_image = np.zeros_like(image)

    # Left image shaping by offset coordinates
    x_src_left = x - shift
    valid_left = (x_src_left >= 0) & (x_src_left < width)
    left_image[y[valid_left], x[valid_left]] = image[y[valid_left], x_src_left[valid_left]]

    # Right image shaping by offset coordinates
    x_src_right = x + shift
    valid_right = (x_src_right >= 0) & (x_src_right < width)
    right_image[y[valid_right], x[valid_right]] = image[y[valid_right], x_src_right[valid_right]]

    # Missing pixel masks for inpainting
    mask_left  = (~valid_left).astype(np.uint8) * 255
    mask_right = (~valid_right).astype(np.uint8) * 255

    # Filling voids via inpainting
    left_image  = cv2.inpaint(left_image,  mask_left,  INPAINT_RADIUS, cv2.INPAINT_TELEA)
    right_image = cv2.inpaint(right_image, mask_right, INPAINT_RADIUS, cv2.INPAINT_TELEA)

    return left_image, right_image

def image3d_combining(left_image, right_image, height, width):
    ''' Combining stereo pair images into a single 3D image '''

    # Images size correction if new_width and new_height are set
    if new_width and new_height:
        left_image, right_image = image_size_correction(height, width, left_image, right_image)
        # Change the values of the original image sizes to new_height and new_width for correct gluing below
        height = new_height
        width = new_width

    # Image order, left first or right first
    img1, img2 = (left_image, right_image) if LEFT_RIGHT == "LEFT" else (right_image, left_image)

    # Combine left and right images into a common 3D image
    if TYPE3D == "HSBS":  # Narrowing and combining images horizontally
        combined_image = np.hstack((cv2.resize(img1, (width // 2, height), interpolation=cv2.INTER_AREA),
                          cv2.resize(img2, (width // 2, height), interpolation=cv2.INTER_AREA)))

    elif TYPE3D == "HOU":  # Narrowing and combining images vertically
        combined_image = np.vstack((cv2.resize(img1, (width, height // 2), interpolation=cv2.INTER_AREA),
                          cv2.resize(img2, (width, height // 2), interpolation=cv2.INTER_AREA)))

    elif TYPE3D == "FSBS":  # Combining images horizontally
        combined_image = np.hstack((img1, img2))

    elif TYPE3D == "FOU":  # Combining images vertically
        combined_image = np.vstack((img1, img2))

    return combined_image

def get_total_frames():
    ''' Determining the exact number of frames in a video.
        The first option is tried first, it is faster but rarely works.
        If the first option didn't work, the second one is tried, it takes a long time, but usually works well
    '''

    cmd1 = ["ffprobe", "-v", "error", "-select_streams", "v:0", "-show_entries", "stream=nb_frames",
            "-of", "default=nokey=1:noprint_wrappers=1", video_file_path]
    cmd2 = ["ffprobe", "-v", "error", "-select_streams", "v:0", "-show_entries", "stream=nb_read_frames", "-count_frames",
            "-of", "default=nokey=1:noprint_wrappers=1", video_file_path]

    try:
        result = subprocess.check_output(cmd1).splitlines()[0].decode().strip()
        print(f"Variant1: {result}")
        if result != "N/A":
            return int(result)
    except Exception:
        pass

    try:
        result = subprocess.check_output(cmd2).splitlines()[0].decode().strip()
        print(f"Variant2: {result}")
        if result != "N/A":
            return int(result)
    except Exception:
        pass

    # If both methods fail, return None
    print("Error, the number of frames could not be determined.")

    return None

def extract_frames(start_frame, end_frame):
    ''' Allocating image files to chunks based on chunk_size '''

    frames_to_process = end_frame - start_frame + 1
    extracted_frames = []

    with frame_counter.get_lock():
        start_counter = frame_counter.value
        frame_counter.value += frames_to_process

    print(f"\n-- EXTRACTING FRAMES --\nFrames {start_frame} - {end_frame}\n")

    for chunk_start in range(start_frame, end_frame + 1, chunk_size):
        chunk_end = min(chunk_start + chunk_size - 1, end_frame)
        extract_frames_path = os.path.join(frames_path, f"file_%06d.png")

        cmd = [
            "ffmpeg", "-hwaccel", "cuda", "-i", video_file_path,
            "-vf", f"select='between(n,{chunk_start},{chunk_end})'",
            "-vsync", "0", "-start_number", str(chunk_start), extract_frames_path
        ]
        subprocess.run(cmd, check=True, stdout=subprocess.DEVNULL)
        print(cmd)

        for i in range(chunk_end - chunk_start + 1):
            frame_number = chunk_start + i
            frame_path = extract_frames_path % frame_number
            extracted_frames.append(frame_path)

    print(f"\n-- FRAMES EXTRACTED --\nFrames {start_frame} - {end_frame}\n")

    return extracted_frames

def chunk_processing(extracted_frames, start_frame, end_frame):
    ''' Start processing for each chunk '''

    print(f"\n-- START THE THREAD --\nFrames {start_frame} - {end_frame}\n")

    for frame_path in extracted_frames:

        # Extract the image name to save the 3D image later on
        frame_name = os.path.splitext(os.path.basename(frame_path))[0]

        # Load image
        image = cv2.imread(frame_path)

        # Image size
        height, width = image.shape[:2]

        # Runing depth_processing and get depth map
        depth = depth_processing(image)

        # Runing image3d_processing and getting a stereo pair for the image
        PARALLAX_FUNCTIONS = {
            1: image3d_processing_method1,
            2: image3d_processing_method2,
        }

        if PARALLAX_METHOD in (1, 2):
            left_image, right_image = PARALLAX_FUNCTIONS[PARALLAX_METHOD](image, depth, height, width)
        else:
            print(f"Set the correct {PARALLAX_METHOD}.")

        # Combining stereo pair into a common 3D image
        image3d = image3d_combining(left_image, right_image, height, width)

        # Saving 3D image
        output_image3d_path = os.path.join(images3d_path, f'{frame_name}.jpg')
        cv2.imwrite(output_image3d_path, image3d, [int(cv2.IMWRITE_JPEG_QUALITY), 100])

        # Deleting the source file
        os.remove(frame_path)

    print(f"\n-- THREAD DONE --\nFrames {start_frame} - {end_frame}\n")

def run_processing():
    ''' The main function for starting processing threads '''

    # Total frames in video file
    total_frames = get_total_frames()

    # Threads control
    if isinstance(total_frames, int):
        with ThreadPoolExecutor(max_workers=max_threads) as executor:
            futures = []

            for start_frame in range(0, total_frames, chunk_size):
                end_frame = min(start_frame + chunk_size - 1, total_frames - 1)

                # 1. Extracting frames (waiting for task to complete before starting thread)
                extracted_frames = extract_frames(start_frame, end_frame)

                # 2. Starting thread for extracted frames
                future = executor.submit(chunk_processing, extracted_frames, start_frame, end_frame)
                futures.append(future)

                # 3. If thread count >= max_threads, wait for any thread to finish
                if len(futures) >= max_threads:
                    done, not_done = wait(futures, return_when=FIRST_COMPLETED)
                    for f in done:
                        f.result()  # if any thread fails, stop all processing
                    futures = list(not_done)

            # 4. Waiting for threads to complete
            for future in futures:
                future.result()

        print("DONE.")

    else:
        print("First, determine the value of total_frames.")


# START PROCESSING
run_processing()


# Delete model and clear Cuda cache
del model_depth
torch.cuda.empty_cache()
This script allows video processing without pre-extracting frames. More precisely, frames are extracted directly from the video file in separate batches.
Frame extraction is handled by ffmpeg. We set chunk_size (frame count per thread) and max_threads (thread count), and the script sequentially processes all frames to the end. We first obtain the total frame count using ffprobe. All parameter configuration details are in the main article. I can only note that on my setup (AMD Ryzen 5 PRO 3600, 32GB DDR4, RTX 3060 12GB), 3-5 threads with approximately 5000 frames per thread is typically sufficient.
Why did the idea of multi-threaded processing (pseudo-multi-threaded) arise in the first place? First, slow frame extraction. We extract by range, for example:
ffmpeg -hwaccel cuda -i video.mkv -vf "select='between(n,5000,10000)'" -vsync 0 -start_number 5000 "extracted_frames/file_%06d.png"
then:
ffmpeg -hwaccel cuda -i "video.mkv" -vf "select='between(n,10001,15000)'" -vsync 0 -start_number 10001 "extracted_frames/file_%06d.png"
and so on.
Accordingly, ffmpeg must recount all frames before extraction (or possibly all frames in video) to extract correctly. This also depends on the specific codec and encoding algorithm. I haven’t managed to speed up this process while maintaining precise synchronization (to avoid skipping or duplicating frames).
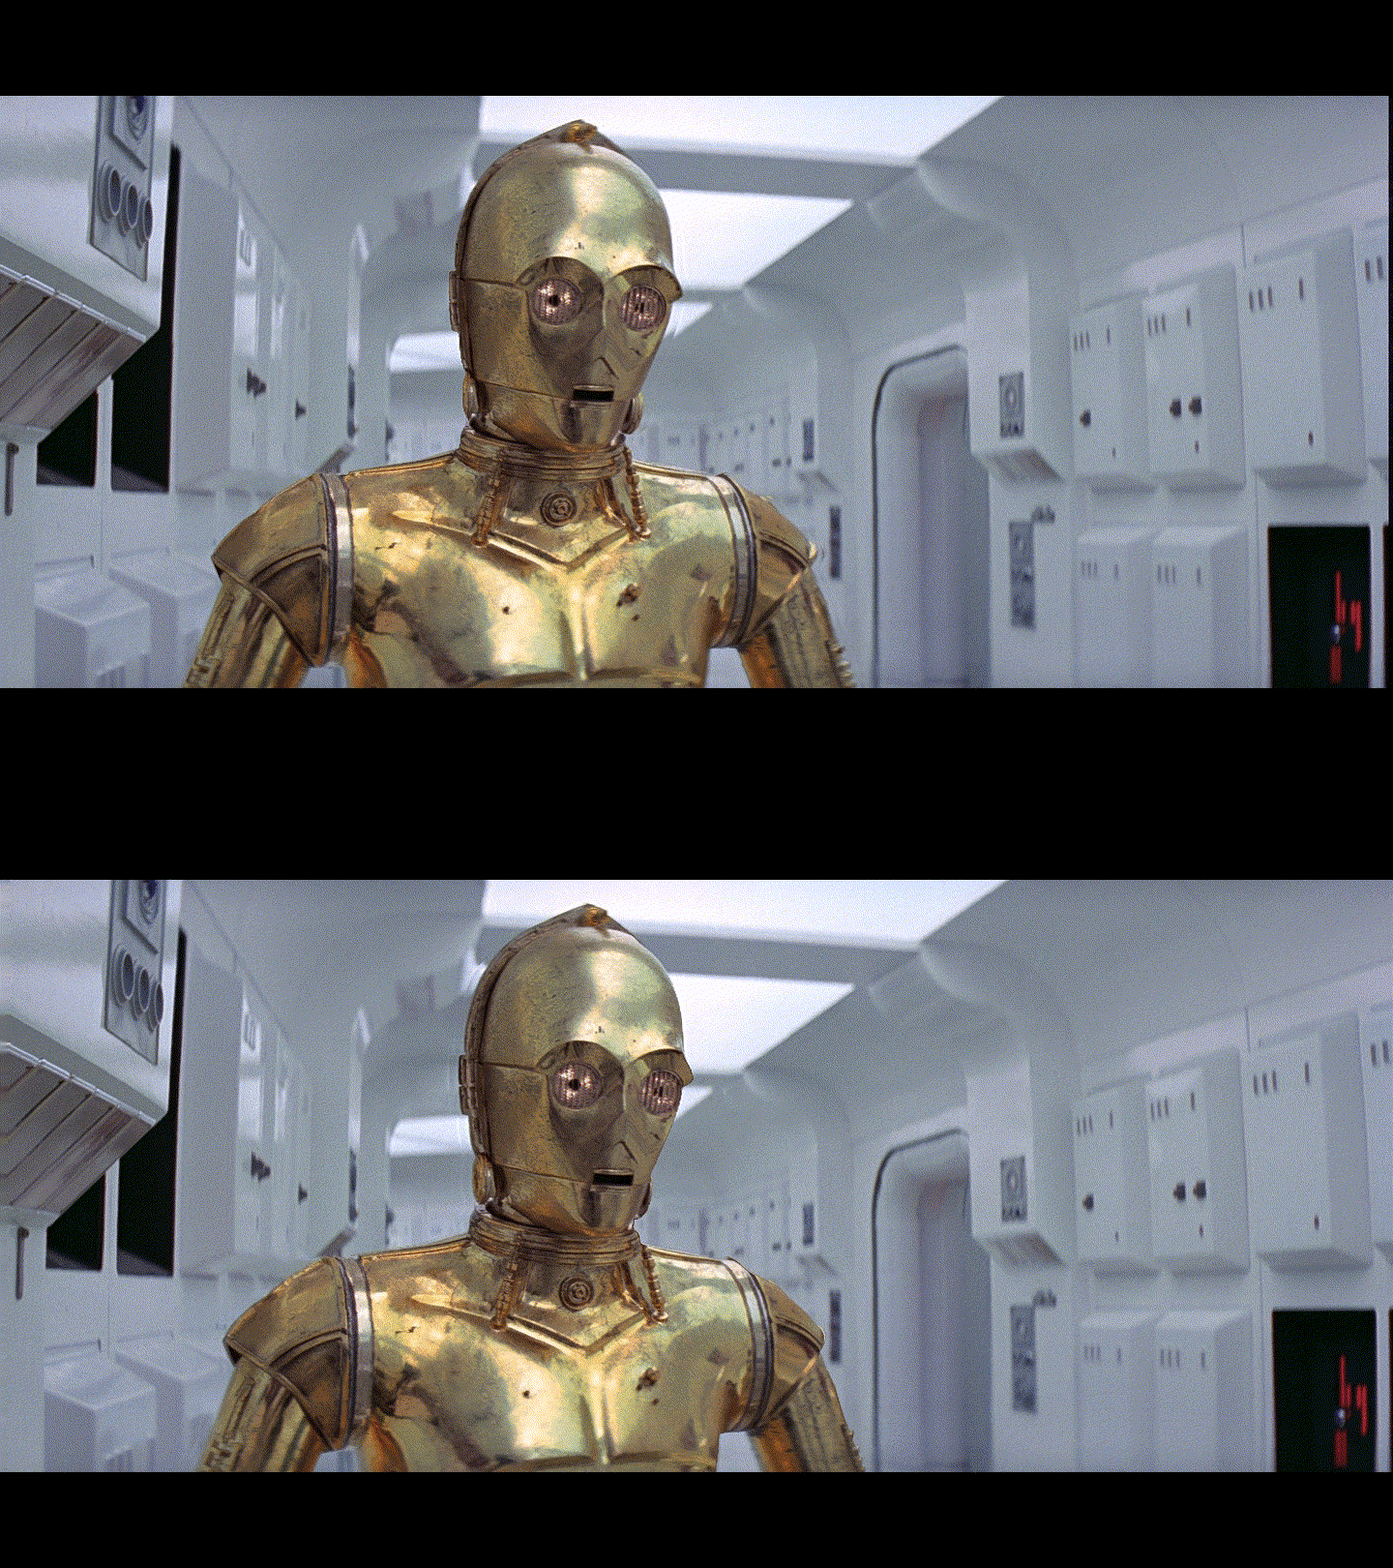 C-3PO in 3D
Brief command breakdown:
ffmpeg -hwaccel cuda -i video.mkv -vf "select='between(n,5000,10000)'" -vsync 0 -start_number 5000 "extracted_frames/file_%06d.png"
“-hwaccel cuda” - use CUDA for extraction, usually faster than CPU
“-i video.mkv” - source video file
“-vf “select=’between(n,5000,10000)’”” - range filter, from frame 5000 to 10000
“-vsync 0” - disable timestamp synchronization, extract frames as-is
“-start_number” - naming counter, starting from 5000
“extracted_frames/file_%06d.png” - path where frames will be extracted and file mask, where %06d is a 6-digit counter, files will be like “file_005000.png”, “file_005001.png”, etc.
After complete processing, you’ll need to “manually” compile the movie from the resulting frames, remembering to include audio tracks from the source file. Command for example:
ffmpeg -framerate 24000/1001 -i "frames_3d/file_%06d.jpg" -i video.mkv -c:v hevc_nvenc -cq 1 -preset p7 -colorspace bt709 -color_primaries bt709 -color_trc bt709 -color_range tv -pix_fmt yuv420p -map 0:v -map 1:a -c:a copy video_3d.mkv
Here:
“-framerate 24000/1001” - source video frame rate, 24000/1001 = 23.976 frames per second
“-i “frames_3d/file_%06d.jpg”” - folder with 3D frames
“-i video.mkv” - source file with audio tracks
“-c:v hevc_nvenc” - NVIDIA GPU encoder (H.265)
“-cq 1 -preset p7” - high video quality
“-colorspace bt709 -color_primaries bt709 -color_trc bt709” - set color parameters according to the BT.709 standard for HD video
“-color_range tv” - pixel color format, yuv420p for maximum compatibility
“-pix_fmt yuv420p” - standard (limited) range for video, as expected by codecs and players, for maximum compatibility and correct colors
“-map 0:v” - specify using the folder with frames specified earlier for video
“-map 1:a -c:a copy” - specify using audio tracks from “-i sw4.mkv” without re-encoding; “-c:a copy” - direct copy
“video_3d.mkv” - output file name
The script can be modified to include this command for auto-execution after frame processing completes, for example:
Code:
compile_command = [
    "ffmpeg",
    "-framerate", "24000/1001",
    "-i", "frames_3d/file_%06d.jpg",
    "-i", "video.mkv",
    "-c:v", "hevc_nvenc",
    "-cq", "1",
    "-preset", "p7",
    "-colorspace", "bt709",
    "-color_primaries", "bt709",
    "-color_trc", "bt709",
    "-color_range", "tv",
    "-pix_fmt", "yuv420p",
    "-map", "0:v",
    "-map", "1:a",
    "-c:a", "copy",
    "video_3d.mkv"
]

subprocess.run(compile_command, check=True)
Personally, I prefer doing it manually, as constant adjustments are needed - for example, removing some audio tracks, or experimenting with codecs, framerate, and anything else.
After compilation, don’t forget to delete the frames directory.
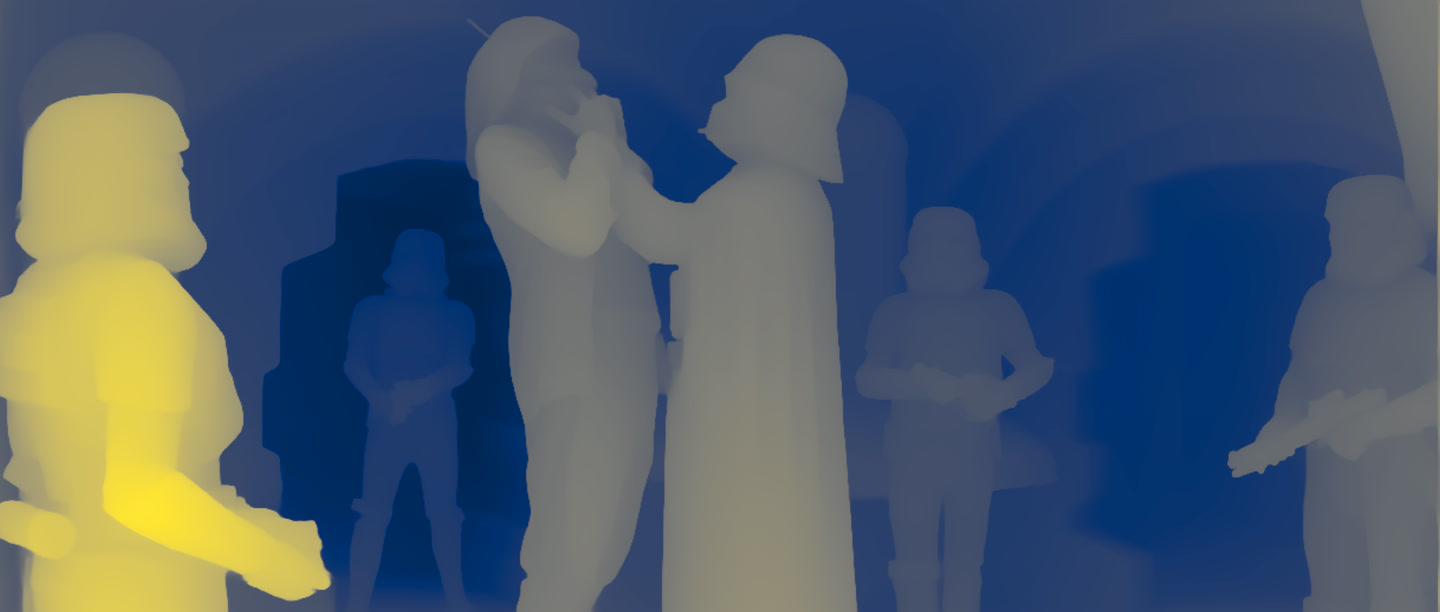 Depth map example for a frame
Other Solutions
VapourSynth
Someone suggested alternative solutions.
Instead of the chain: frame extraction -> processing -> compiling final video from rendered frames, you can use an intermediate server for on-the-fly video processing, such as VapourSynth. The scheme is roughly as follows: ffmpeg extracts a frame, immediately passes it (without saving) to a processing function (in this case, generating the 3D version of the frame), and the resulting frame is encoded into the output video file (or more precisely, queued for encoding). All this happens in RAM/VRAM, bypassing intermediate stages of saving frames to disk.
I haven’t experimented with this yet. I tried installing it on Ubuntu, but VapourSynth required the very latest versions of ffmpeg and some other libraries (apt update/upgrade didn’t help, stable versions weren’t sufficient). I had to manually compile the latest ffmpeg (although the latest stable version was perfectly fine for me personally), and several other libraries, but still couldn’t get VapourSynth running. I’ll definitely return to this later when I have more free time. Perhaps under Windows it’s easier to set up.
An important point about on-the-fly processing. On one hand, it’s convenient; on the other, there are nuances. Processing one movie with the Depth-Anything-V2 Large model can take over a day, or even several. I provided an approximate calculation for the Star Wars Episode IV movie in Full HD format with a duration of 2 hours 4 minutes in the main article. On my setup (AMD Ryzen 5 PRO 3600, 32GB DDR4, RTX 3060 12GB) with the Large model, it would take approximately 32 hours to process this movie, and if a failure occurs during the process or the computer accidentally shuts down - you’ll have to start all over again.
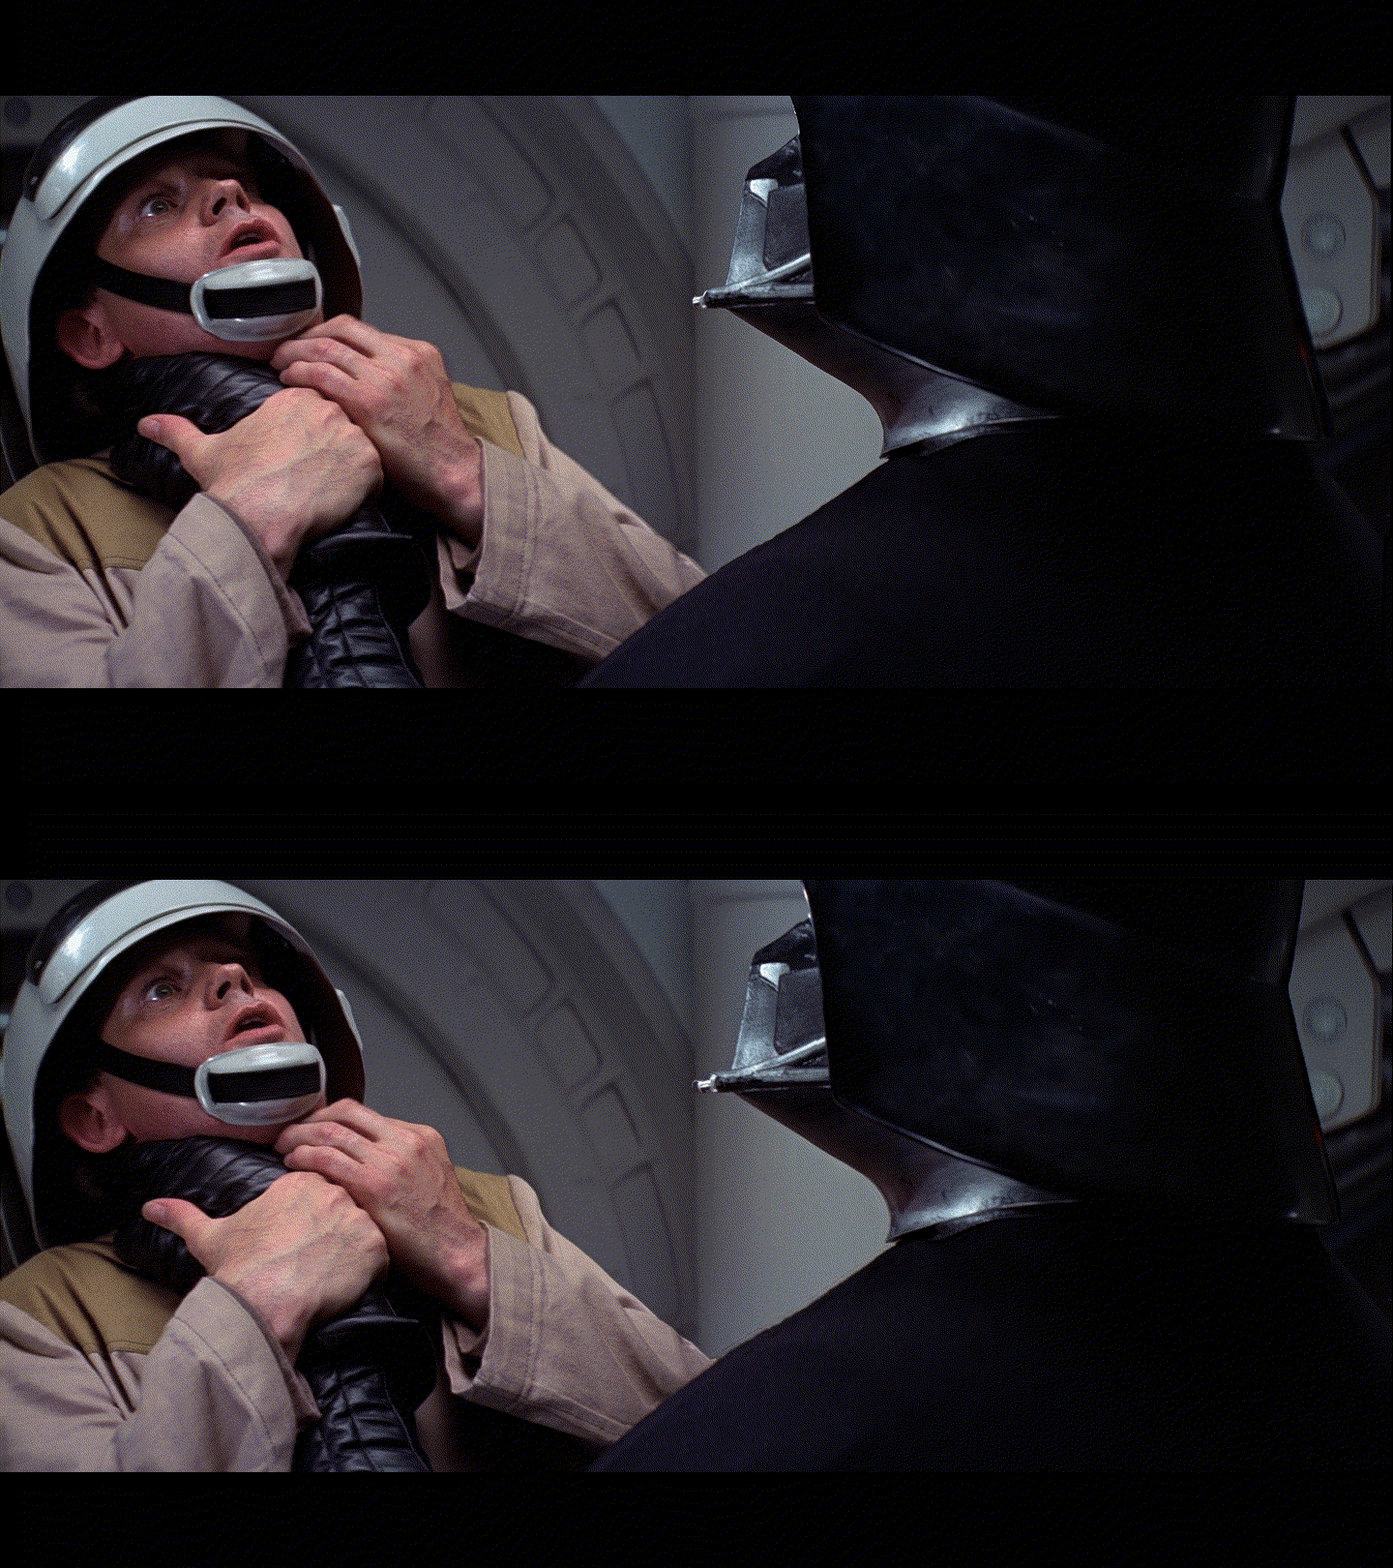 Darth Vader wouldn’t have tolerated this
Another point. You need to be absolutely certain about your source material. In the article about upscaling old videos, I described in detail what problems can arise when working with certain sources and formats, especially if it’s DVD-MPEG2 or something else from the past. There can be issues with precise framerate determination, output image format, and anything else. This needs to be considered and sources should be pre-checked, along with what comes out of them.
Overall, implementing a processing server without saving frames is a wonderful idea, since it doesn’t require any disk space for frames, and if we’re working with 4K format and PNG, this is a very critical consideration.
Another Library for 2D -> 3D Conversion
Someone also suggested another possible solution.
I haven’t tried it, only briefly looked at it. It has a GUI and many settings. You can select the depth model, processing method, it supports anaglyph and much more. This implementation will probably be more difficult to figure out, but the solution definitely deserves attention.
That’s all, may the force be with you!
Additional materials
- See the main article for all key details
- All 2D to 3D conversion scripts are available on my GitHub:
https://github.com/peterplv/MakeAnythingStereo3D - Link to Google Drive with examples and 3D GIFs
- Example 3D video in HOU format, suitable for viewing on most 3D TVs
- Example 3D video in FSBS format, suitable for viewing in VR headsets
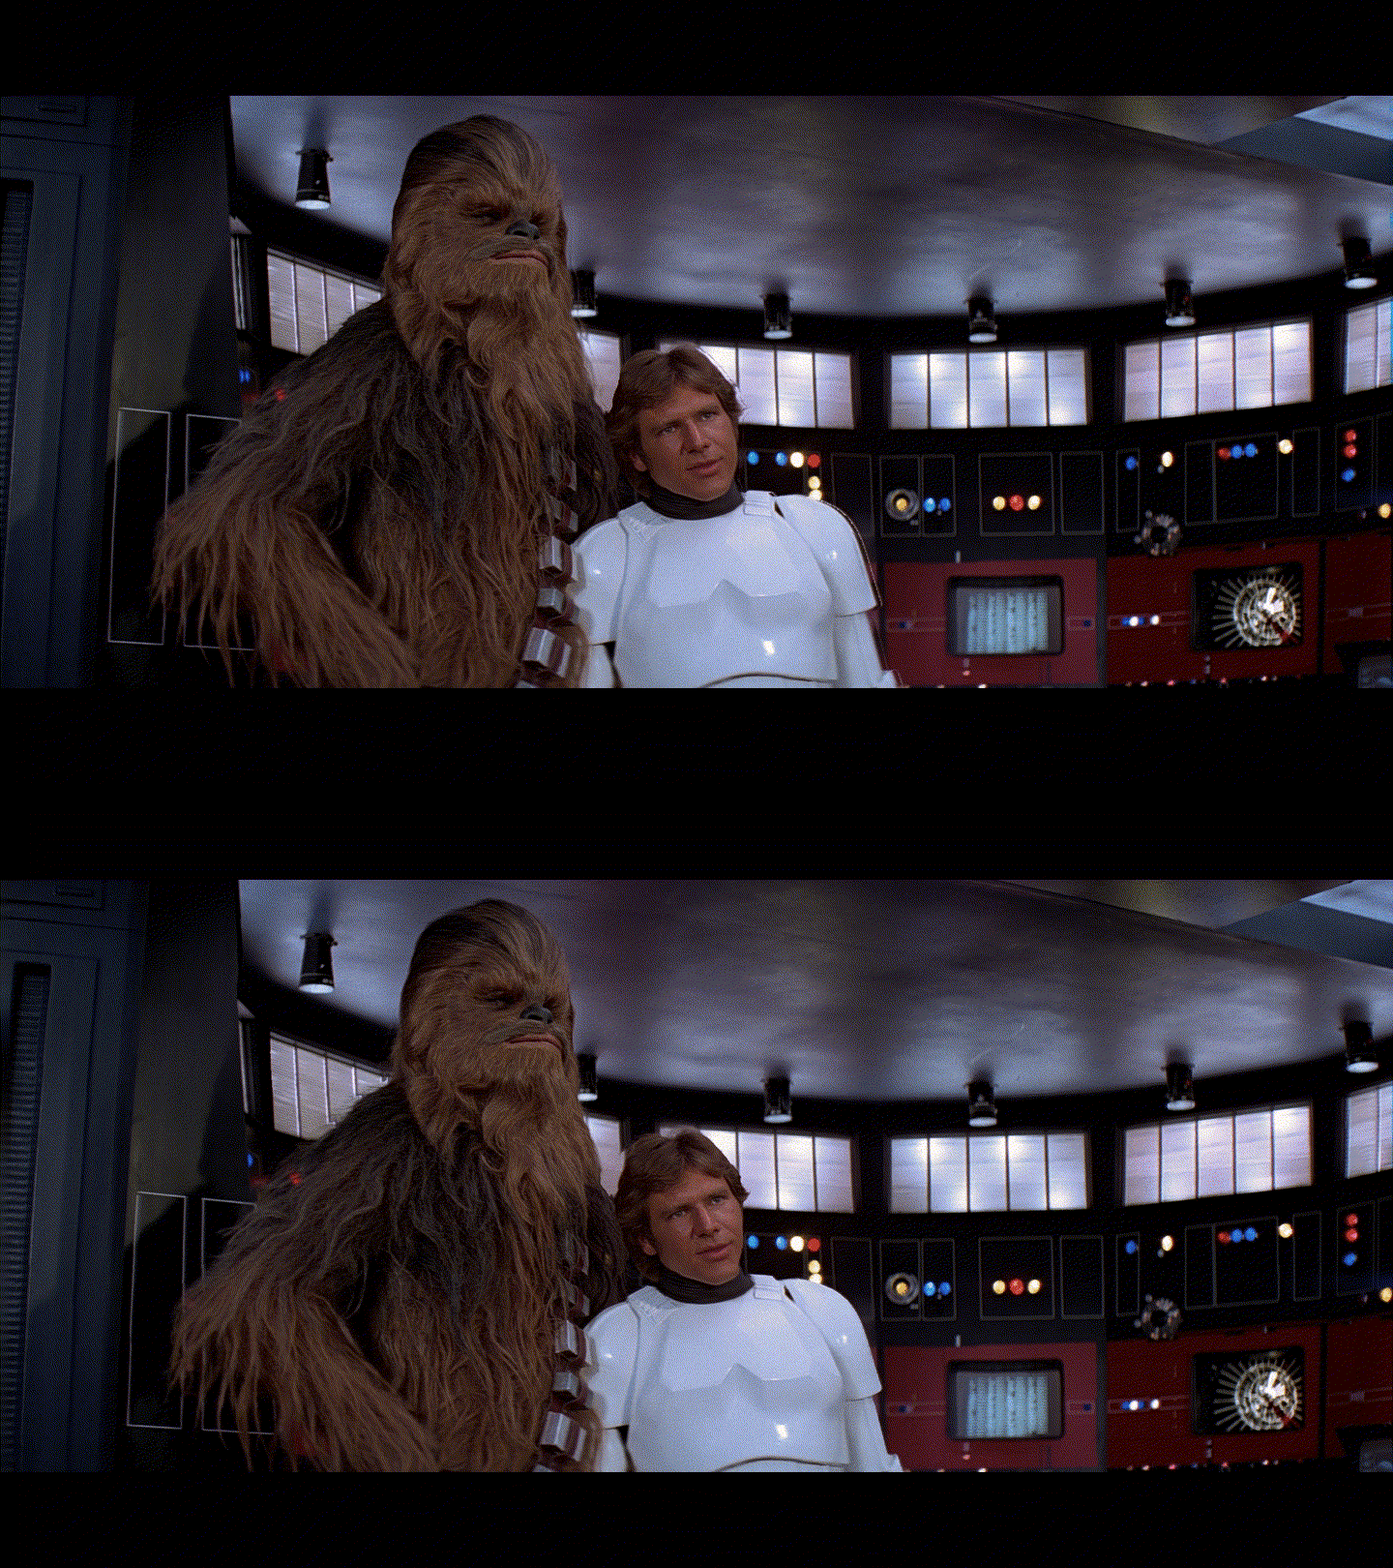 Chewie and Han thank you for your attention